Easy Nail Art Designs at Home for Beginners
15 designs Nail art by style Updated 8 Oct 2026
These easy nail art designs need only things you already have at home: a toothpick, a bobby pin, cello tape, a kitchen sponge and a bottle of top coat. No special kit, no stickers.
Each card says which household tool you need, how long it takes and which nail length it suits. If you have never tried easy nail art at home, start with the dot designs, then move to tape, then the sponge gradient.
Want the look with less effort? Browse simple nail art designs. Want something more playful once you get the hang of it? Try cute nail art.
Easy Nail Art Designs With a Toothpick and Dots
A toothpick or the round head of a bobby pin works like a dotting tool. Pour a drop of polish on foil and dip from there, not from the bottle.
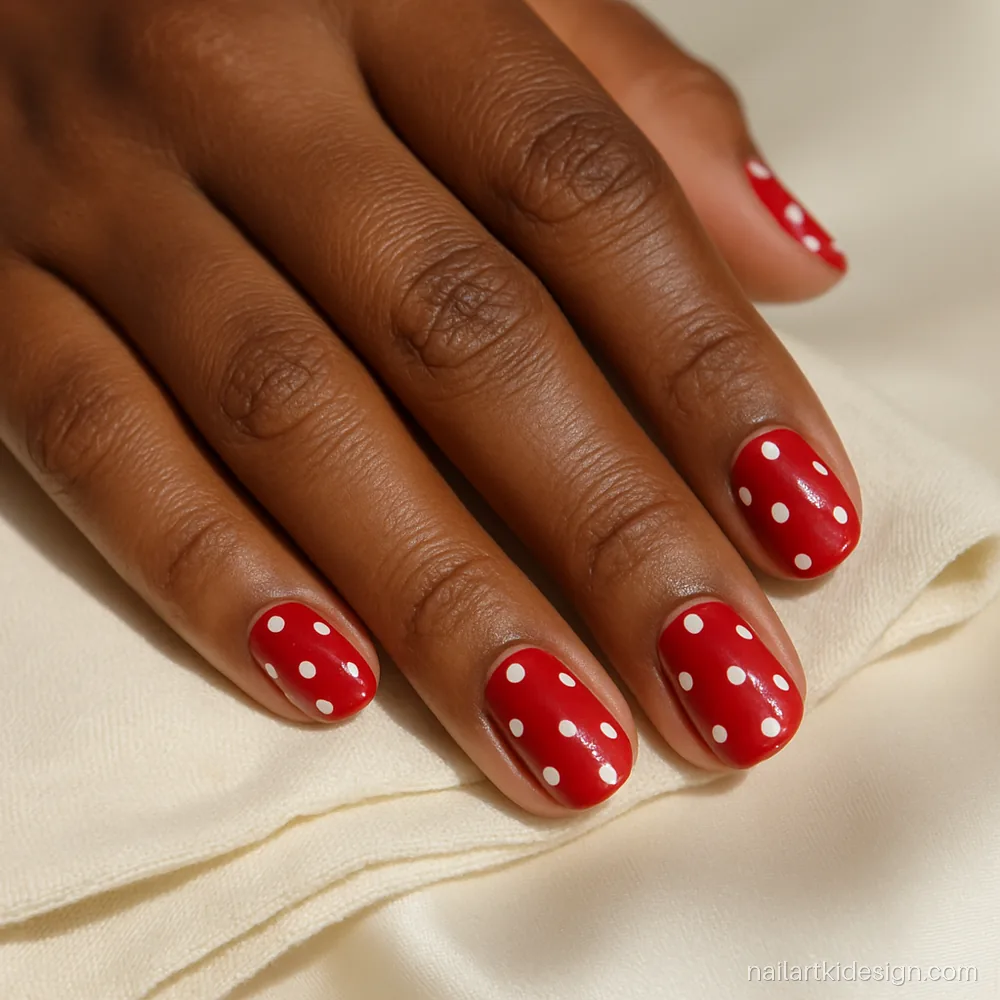
- Length
- Short, round
- Colours
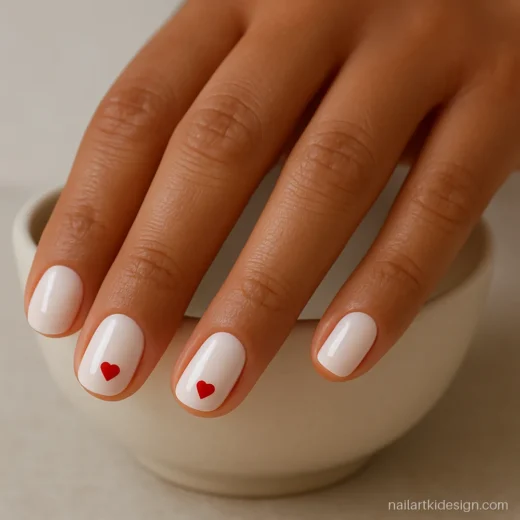
- Red, white
- Time
- 25 min, beginner
Classic polka dots are the first design most people learn, and red with white always looks cheerful.
Artist tip: Tools: toothpick, foil. Dip once for each dot and space them like a loose grid.
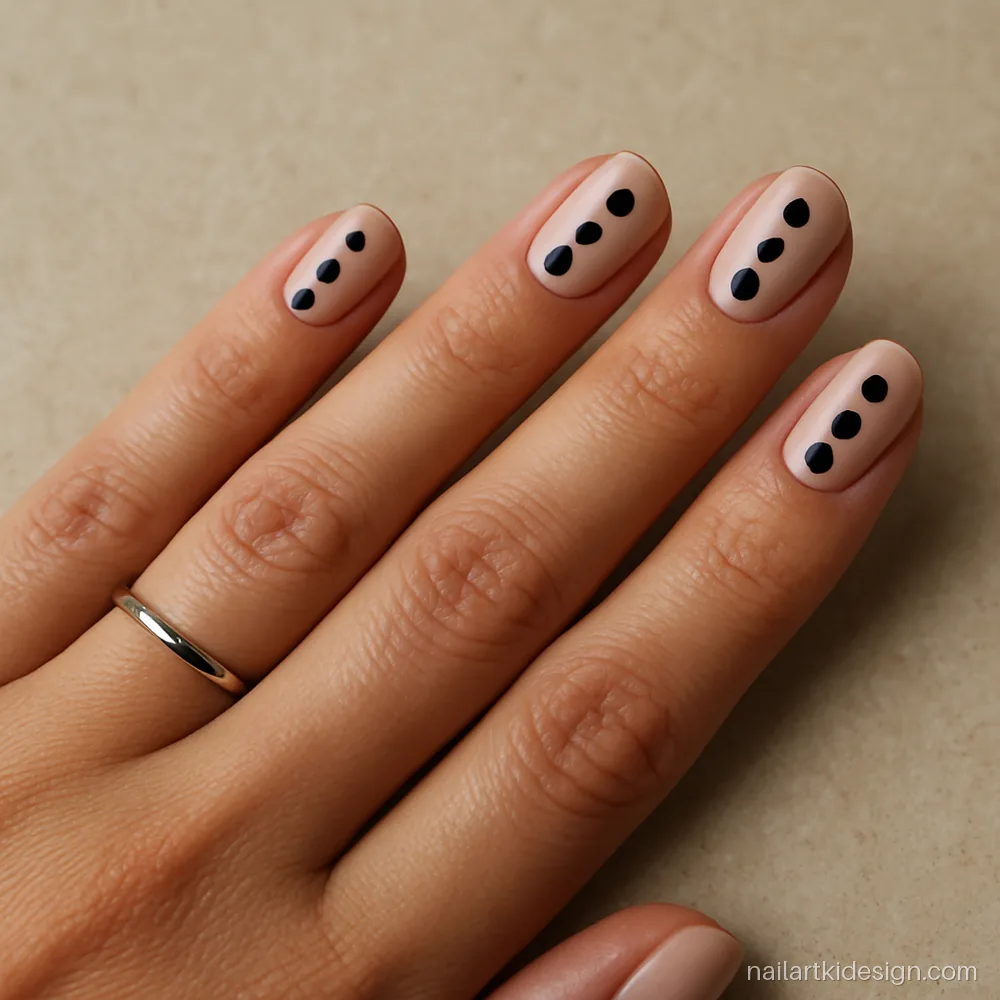
- Length
- Medium, oval
- Colours
- Nude, black
- Time
- 20 min, beginner
Bigger dots from a bobby pin look bold and modern, and three in a row is hard to get wrong.
Artist tip: Tools: bobby pin, foil. Press lightly and lift straight up so the dot stays round.
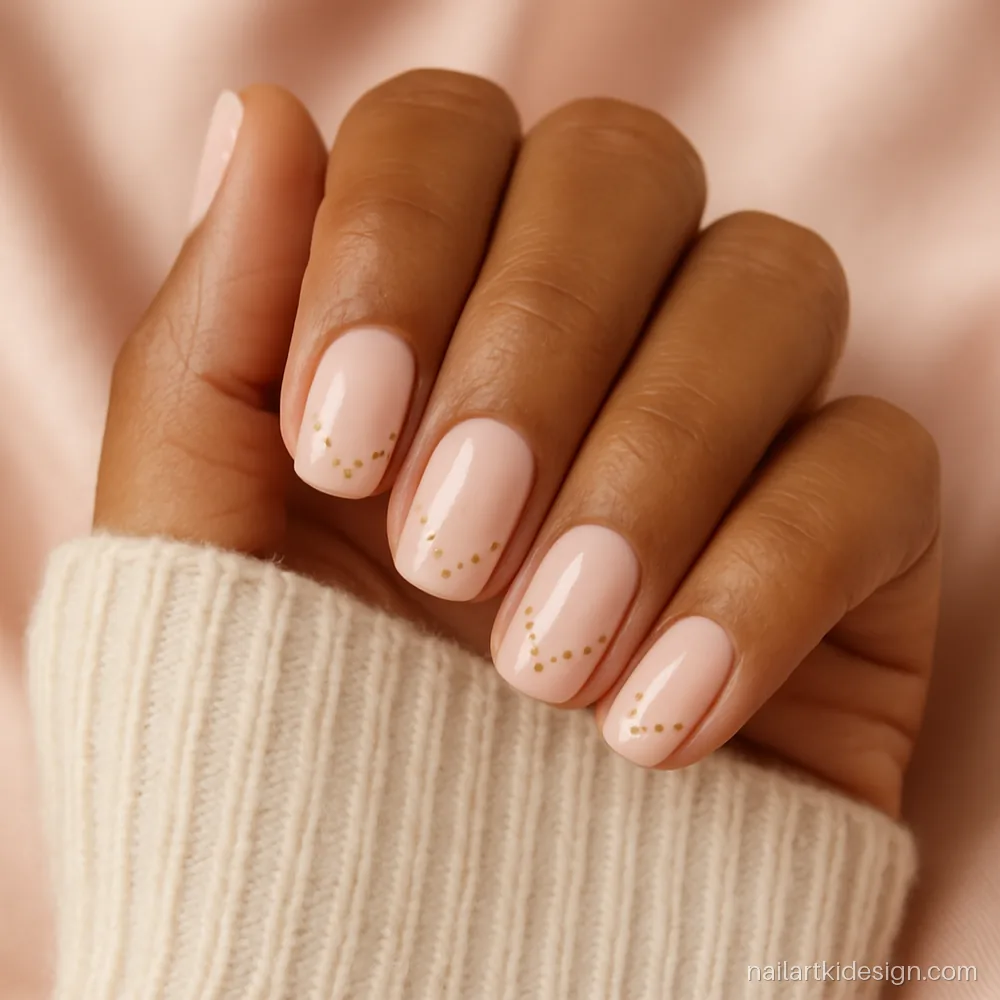
- Length
- Short, squoval
- Colours
- Pale pink, gold
- Time
- 30 min, beginner
Dots placed in a V near the tip look like beadwork and flatter shorter fingers.
Artist tip: Tools: toothpick. Mark the point of the V first, then add dots up both sides.
Easy Nail Designs With Tape and Stripes
Regular cello tape gives straight lines without a steady hand. Stick it on the back of your hand once first so it is less sticky and does not pull up the base.
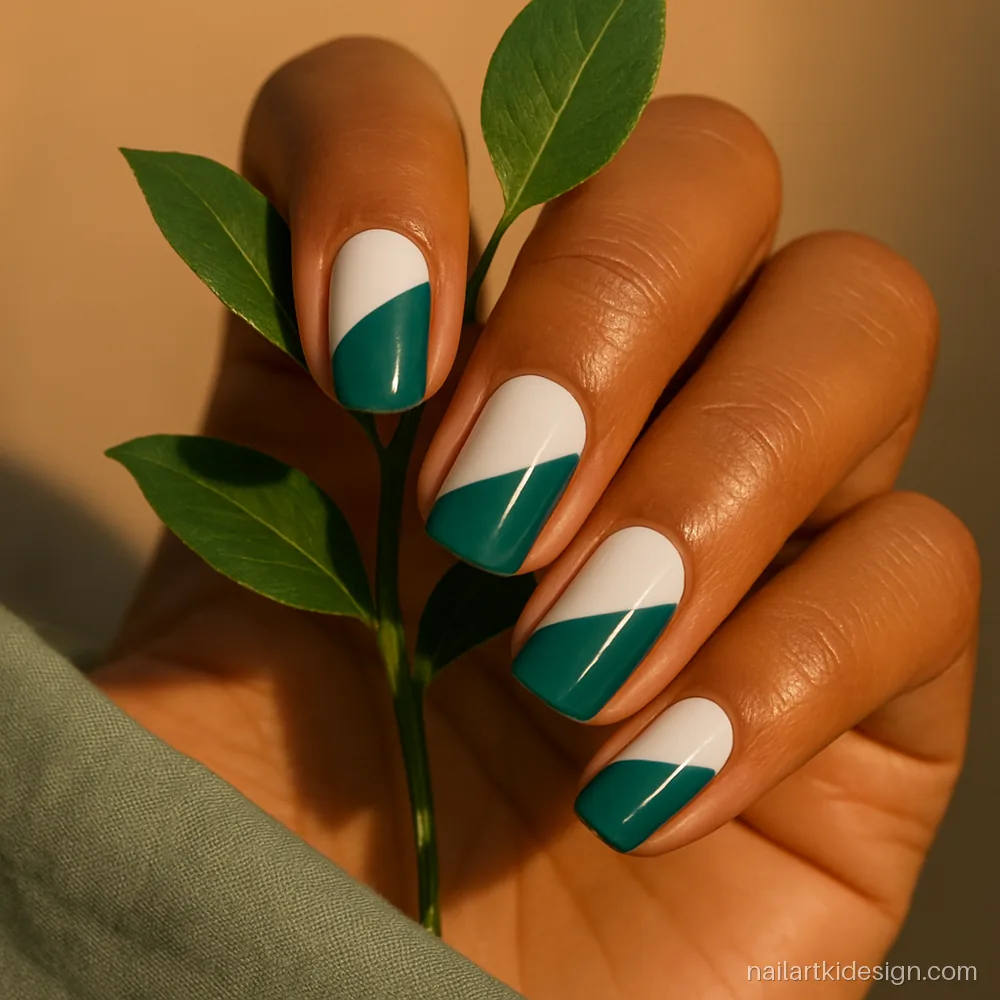
- Length
- Medium, square
- Colours
- Teal, white
- Time
- 35 min, beginner
A clean diagonal split looks like salon work but needs only two colours and one strip of tape.
Artist tip: Tools: cello tape, scissors. Paint white first, tape at an angle, paint teal, peel while wet.
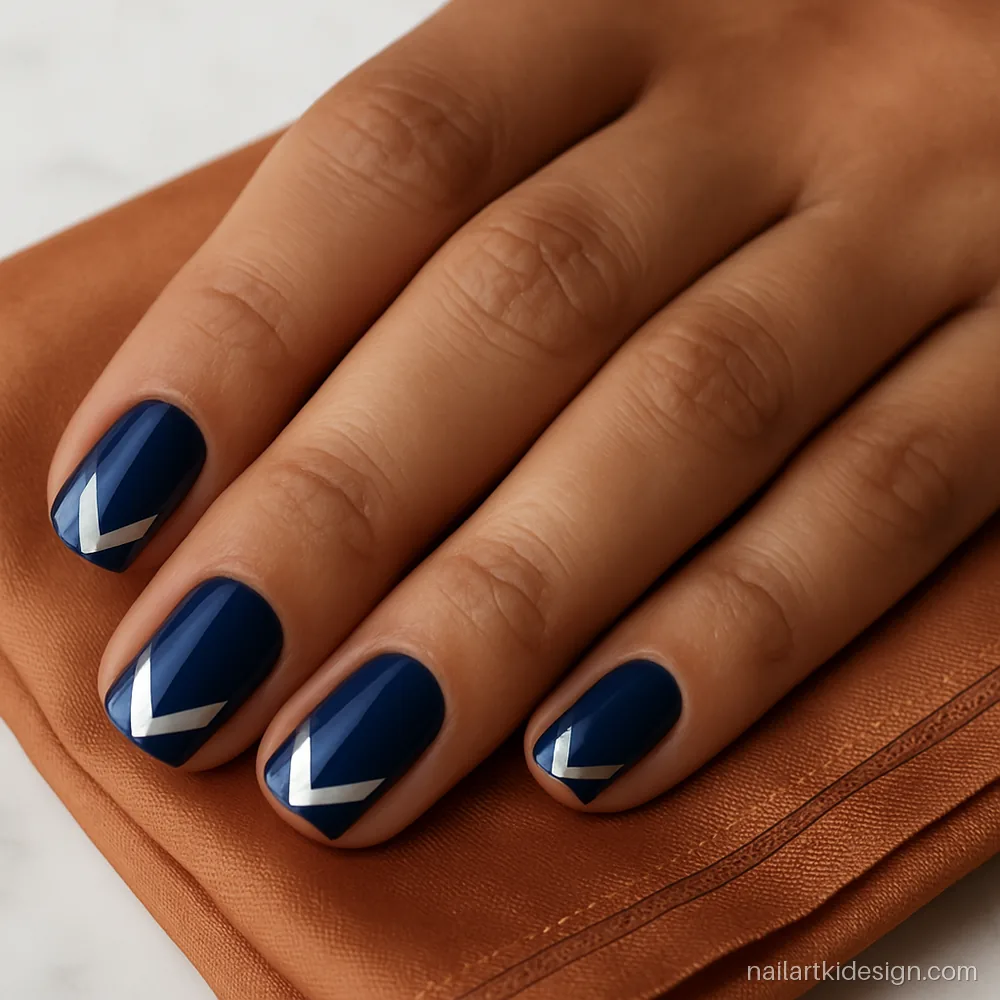
- Length
- Short, square
- Colours
- Navy, silver
- Time
- 35 min, intermediate
A pointed chevron tip gives short nails some length and works for office and parties.
Artist tip: Tools: tape. Place two strips in a V, leaving the tip open, and paint silver.
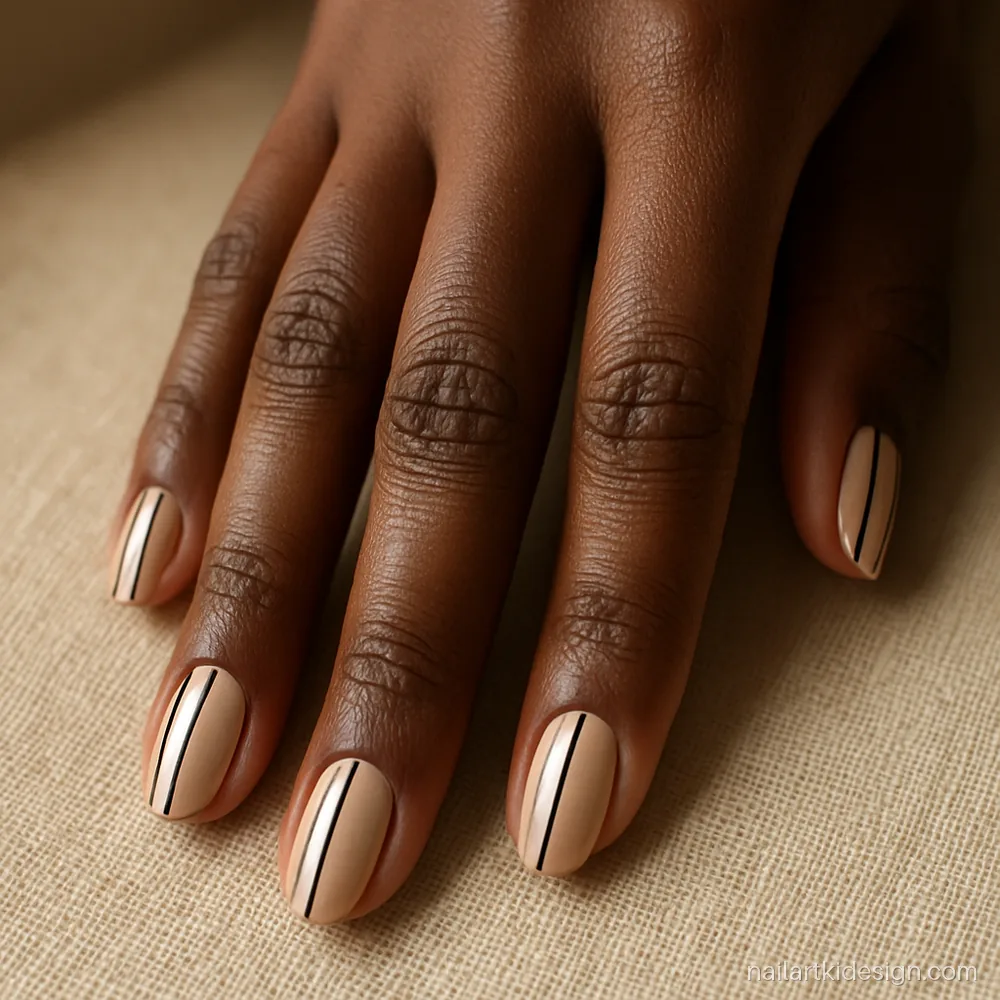
- Length
- Medium, oval
- Colours
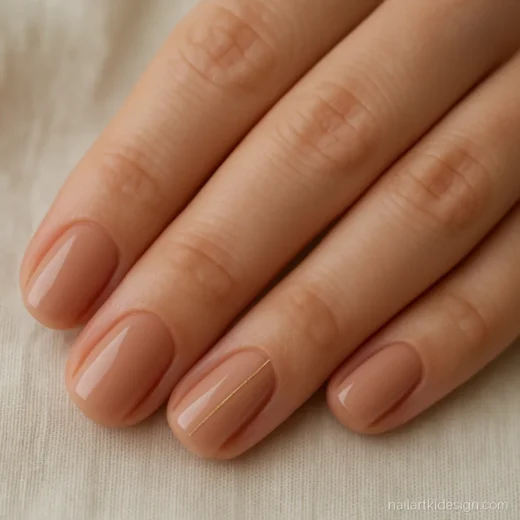
- Beige, black
- Time
- 30 min, beginner
Two thin parallel stripes give a neat, graphic finish that matches both western and Indian wear.
Artist tip: Tools: tape cut into thin strips. Leave a gap between strips, paint black over it, peel.
Sponge Gradient Nail Art at Home
A clean piece of kitchen sponge or a makeup sponge gives a soft fade. Apply liquid latex or petroleum jelly around the nail first so cleanup is quick.
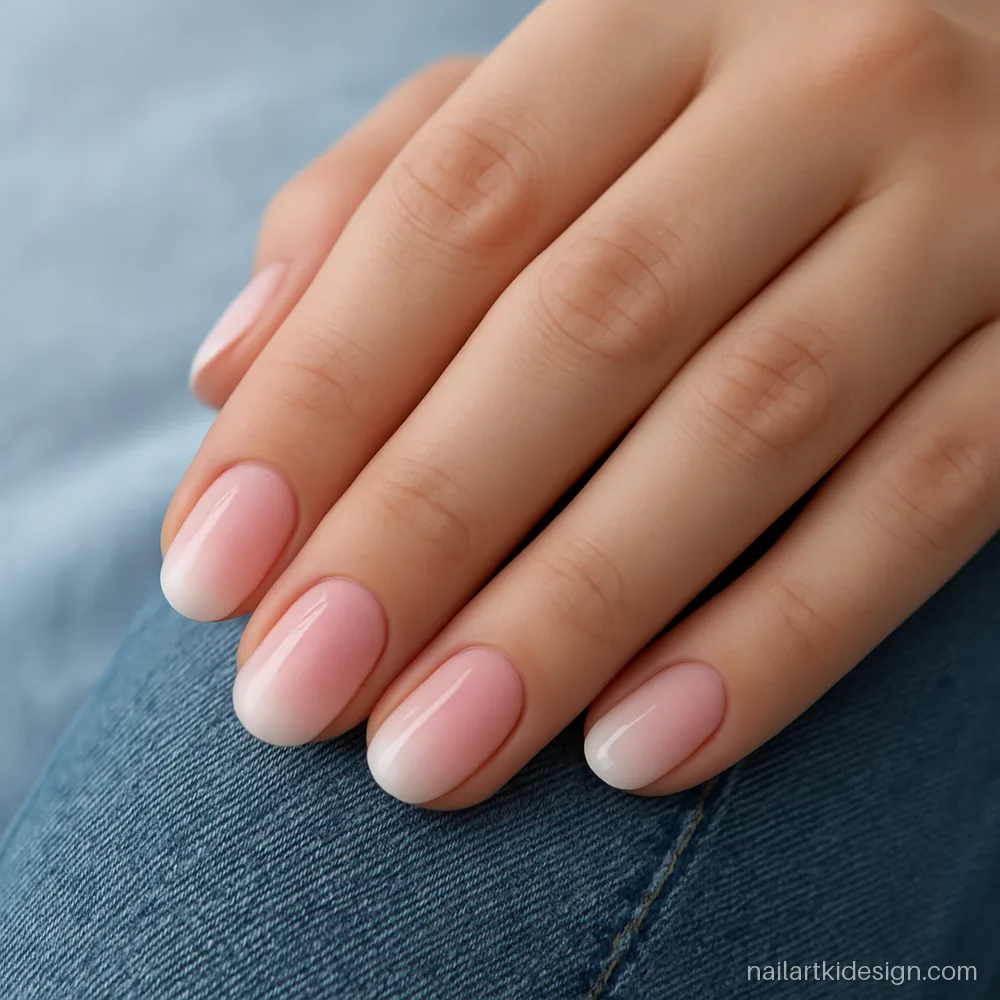
- Length
- Short, oval
- Colours
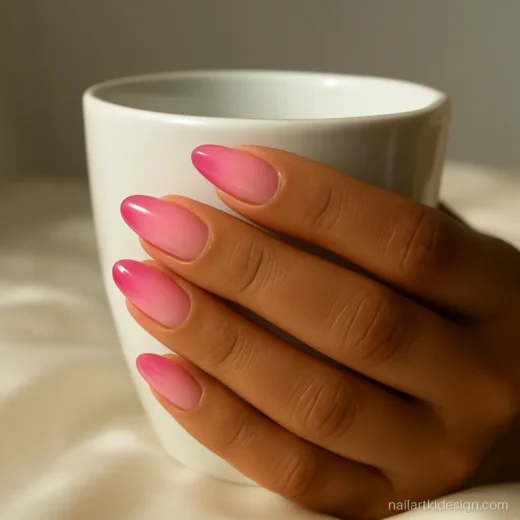
- Pink, white
- Time
- 35 min, beginner
A pink to white fade is the gentlest gradient for beginners and looks fresh for weddings and brunches.
Artist tip: Tools: makeup sponge. Paint both colours side by side on the sponge and dab two or three times.
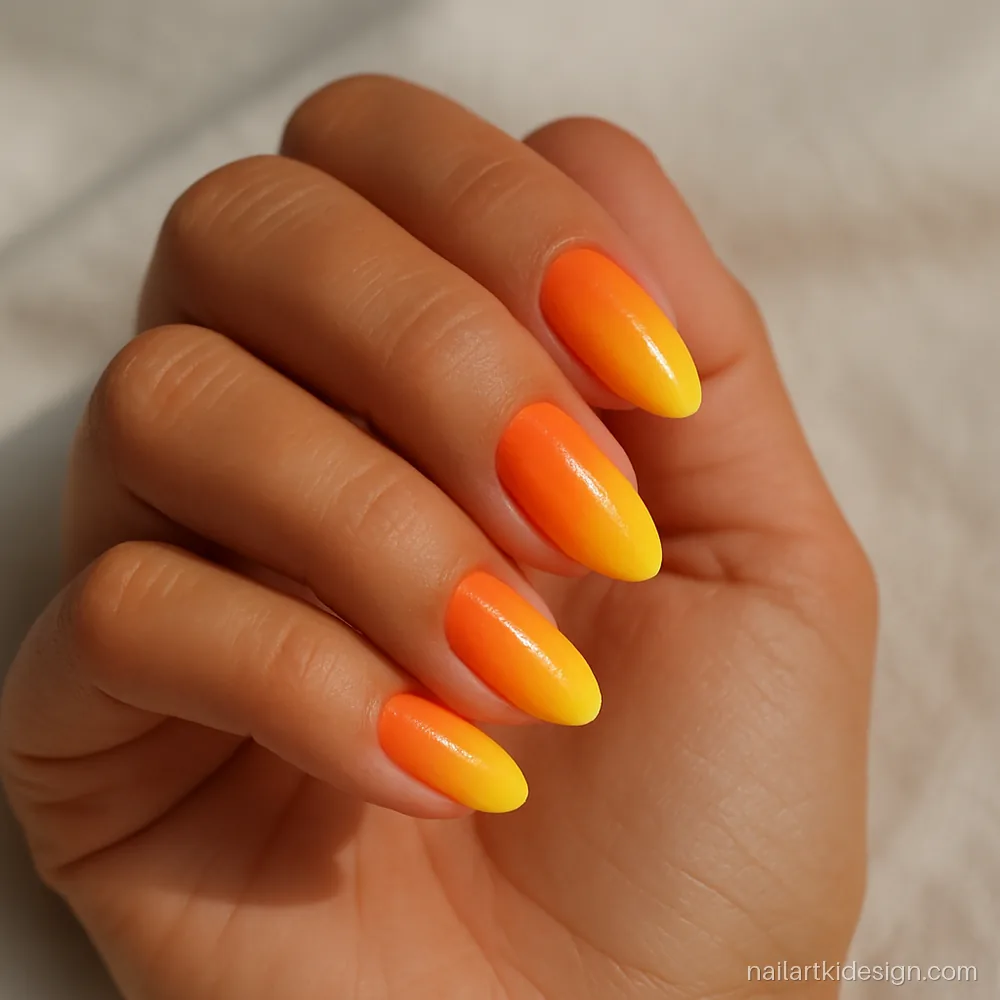
- Length
- Medium, almond
- Colours
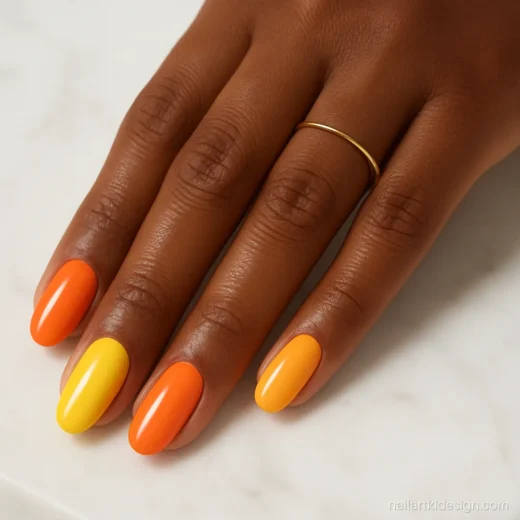
- Orange, yellow
- Time
- 40 min, intermediate
Orange melting into yellow looks like a summer sky and suits warm skin tones beautifully.
Artist tip: Tools: kitchen sponge, petroleum jelly. Build the fade in thin layers, letting each dry.
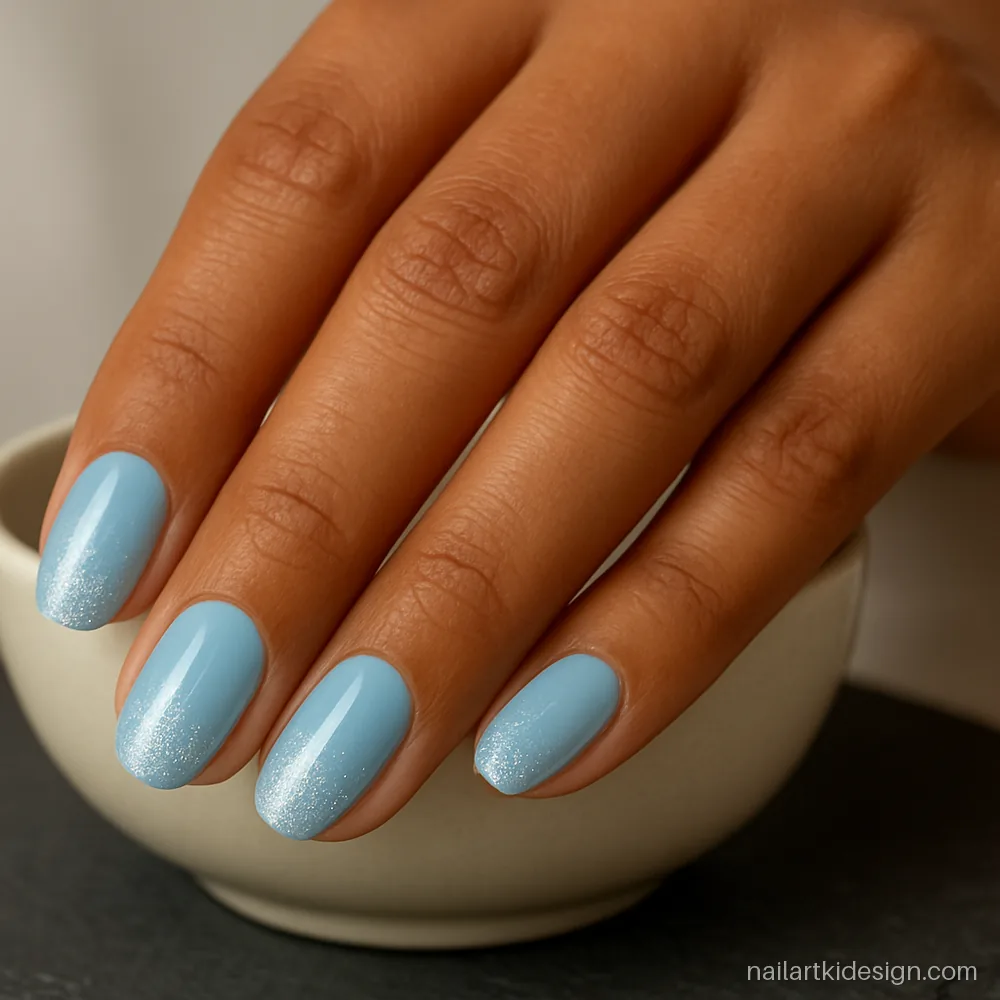
- Length
- Medium, oval
- Colours
- Light blue, silver
- Time
- 30 min, beginner
Glitter sponged only at the tips gives sparkle that fades out softly, so it never looks too much.
Artist tip: Tools: sponge. Brush glitter polish on the sponge edge and dab just the top third.
Five Minute Freehand Easy Nail Paint Design Ideas
These designs are fast because they use the polish brush itself or one simple stroke. Good for when you are already late.
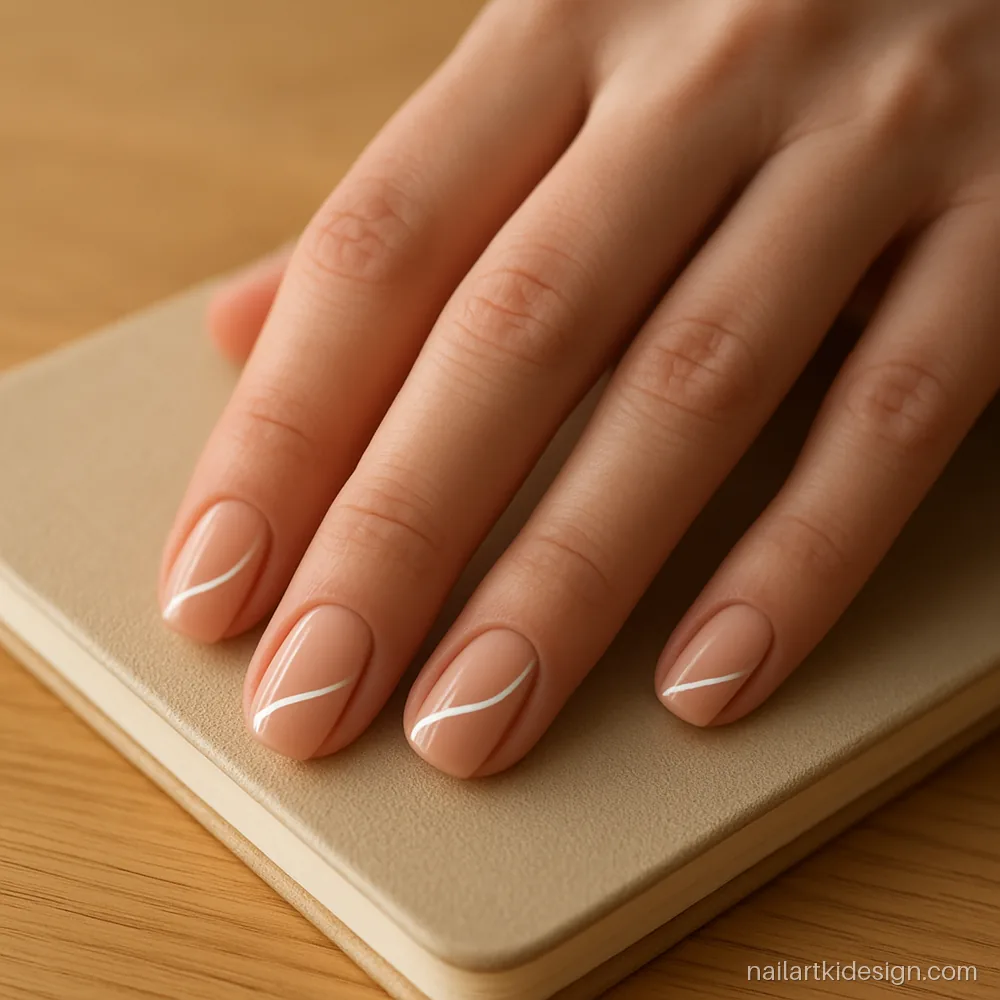
- Length
- Short, squoval
- Colours
- Nude, white
- Time
- 10 min, beginner
One curved stroke from the side is quick, forgiving and looks like a modern brushstroke.
Artist tip: Tools: polish brush only. Wipe most polish off, then sweep one curve from the side.
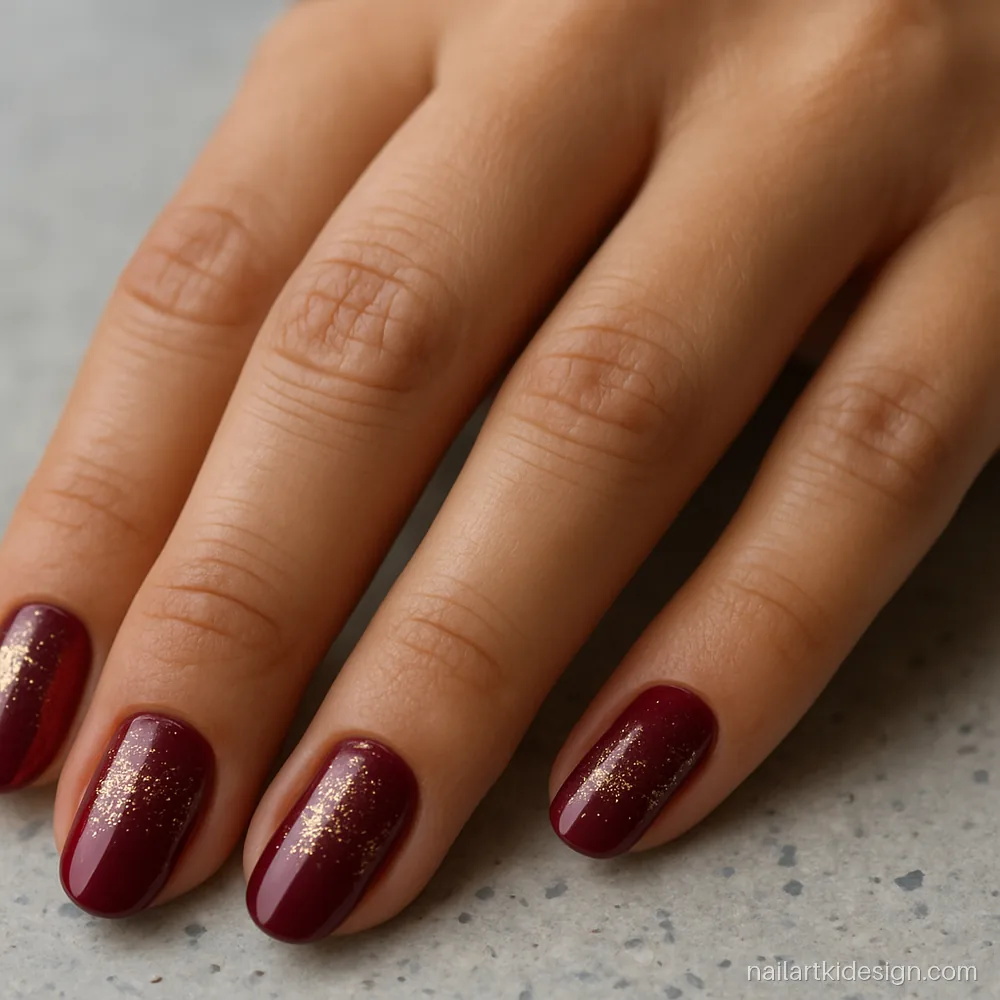
- Length
- Medium, round
- Colours
- Wine, gold glitter
- Time
- 10 min, beginner
Glitter on half the nail takes a minute and gives a festive look for last minute plans.
Artist tip: Tools: glitter top coat. Start at the tip and stop halfway, no need for a neat line.
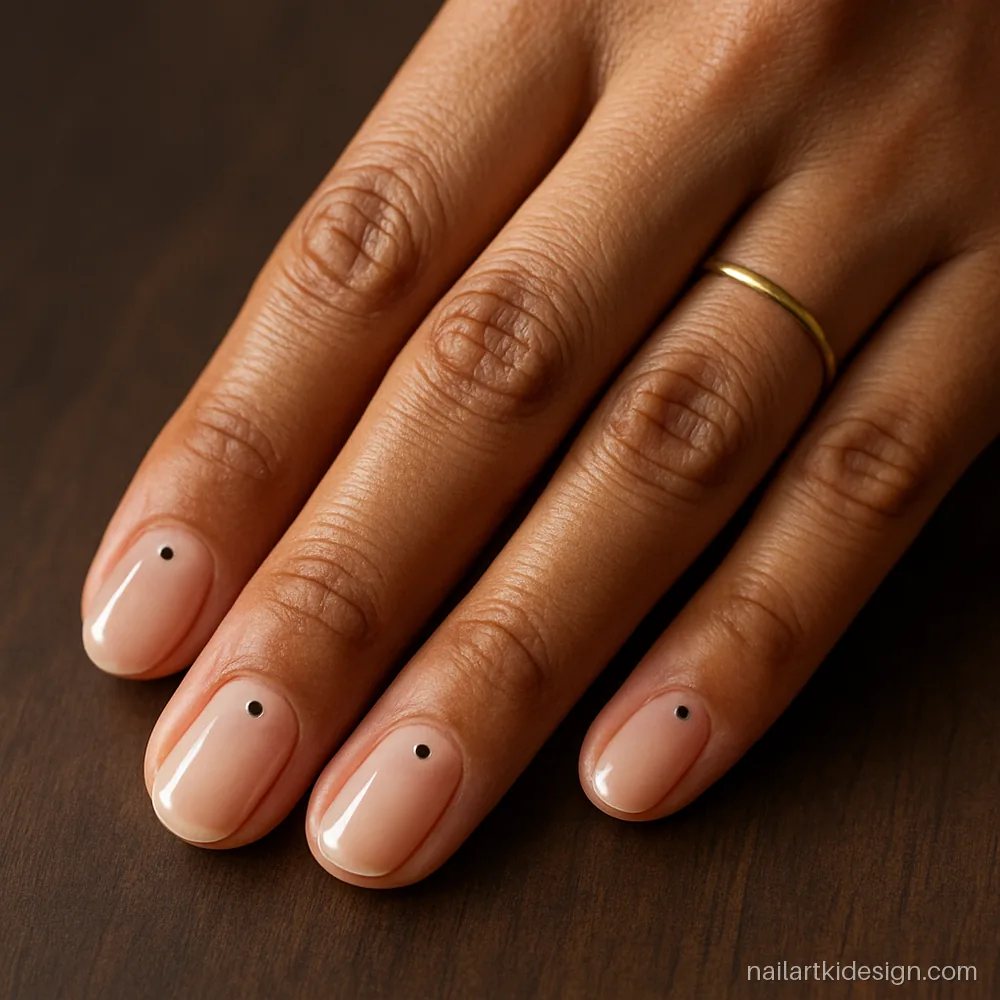
- Length
- Short, round
- Colours
- Clear, black
- Time
- 8 min, beginner
Leaving the nail bare and adding one dot is the fastest design here, and it grows out with no gap.
Artist tip: Tools: bobby pin. Base coat, one dot, top coat. That is the whole design.
Beginner Flower Nail Art Step by Step
Flowers look hard but they are just five dots around a centre. For more, see our full flower nail art gallery.
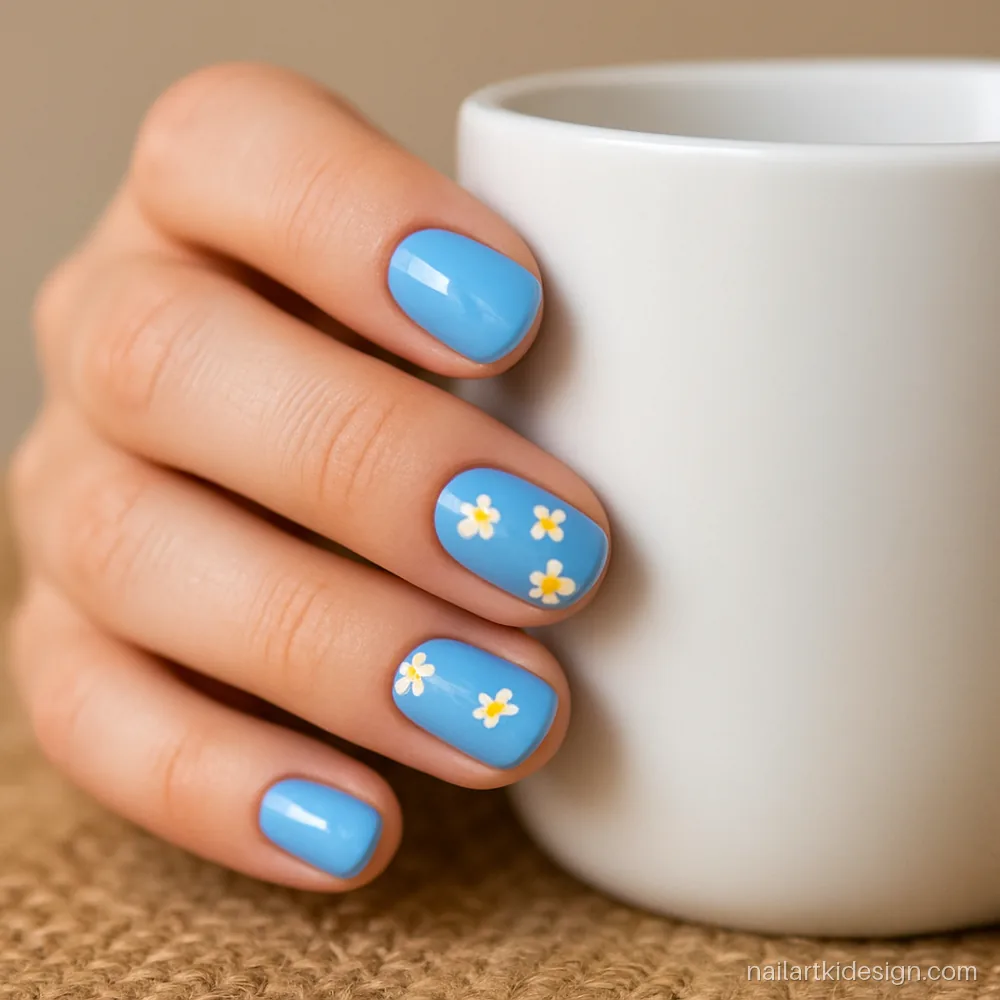
- Length
- Short, oval
- Colours
- Sky blue, white, yellow
- Time
- 30 min, beginner
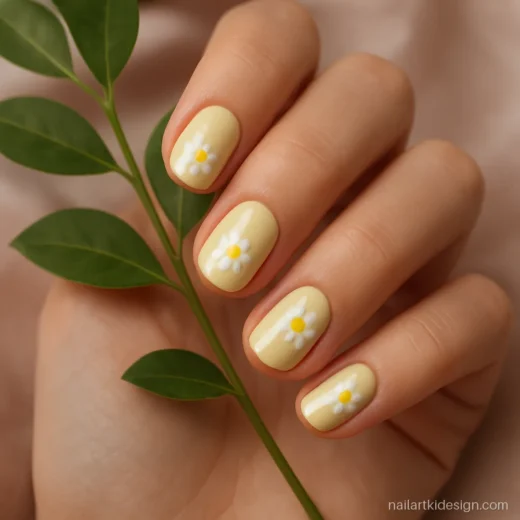
Five white dots and one yellow centre make a daisy that anyone can paint on the first try.
Artist tip: Tools: toothpick. Make the yellow centre last so the petals do not smudge it.
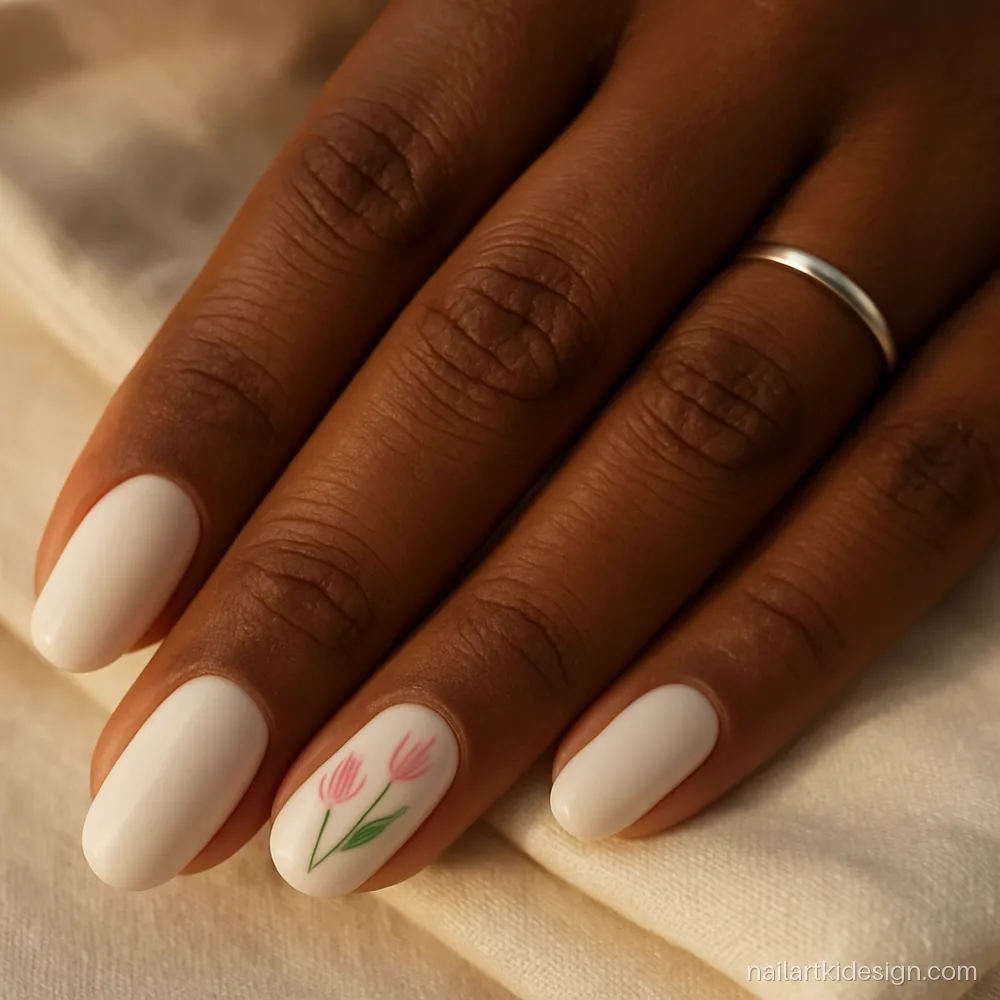
- Length
- Medium, oval
- Colours
- Milky white, pink, green
- Time
- 35 min, beginner
A dot pulled into a teardrop becomes a tulip petal, and a thin green line finishes the stem.
Artist tip: Tools: toothpick. Place two dots and drag them up and inward to meet.
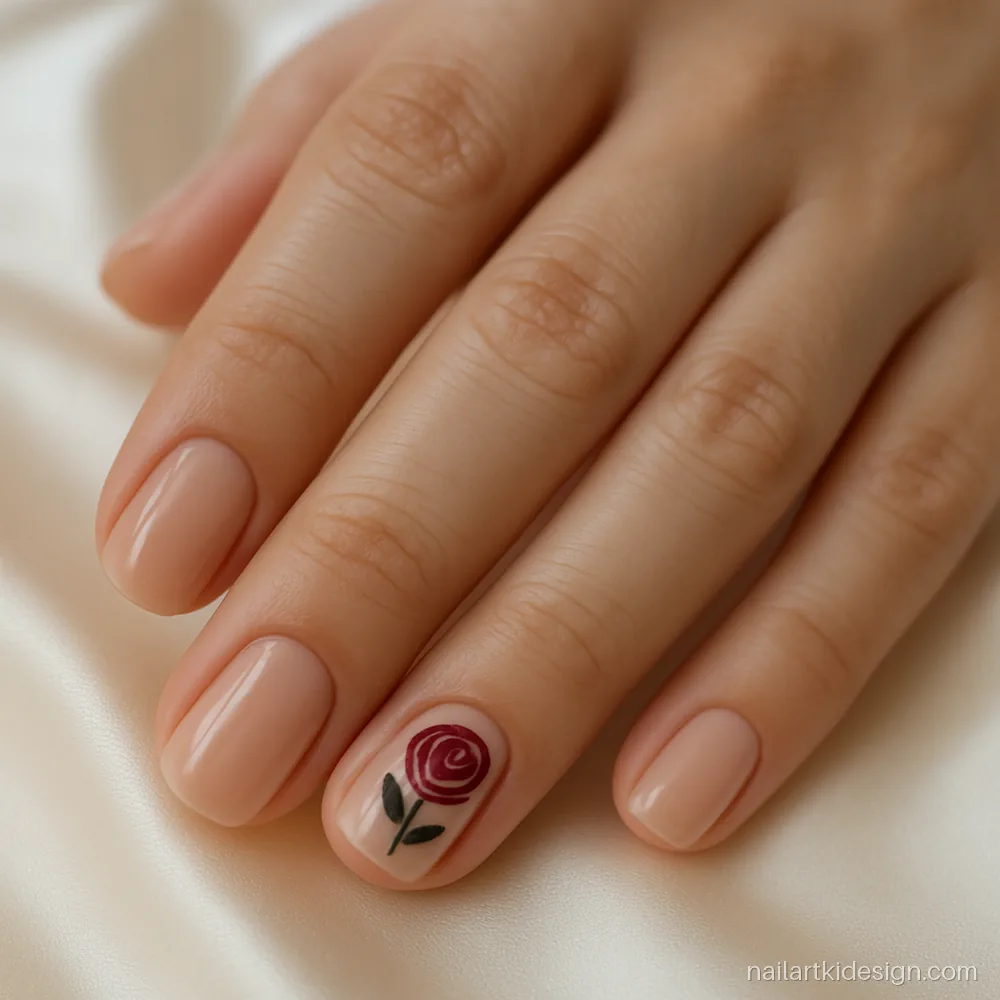
- Length
- Short, squoval
- Colours
- Nude, red, maroon
- Time
- 30 min, intermediate
A swirl rose is just a spiral in red with a darker line, and on one nail it looks very sweet.
Artist tip: Tools: toothpick. Draw a red dot, swirl a maroon spiral inside it while still wet.
How to Do Nail Art at Home Step by Step
- Prep: wash hands, dry well and file each nail in one direction.
- Base coat: one layer so the colour does not stain.
- Colour: two thin coats. Thick coats stay soft and dent.
- Design: add dots, tape lines or sponge once the colour is touch dry.
- Top coat: one layer, and run the brush along the tip.
- Clean up: an old lip brush dipped in remover fixes edges.
Remover with acetone has strong fumes, so open a window and patch test new products on one nail first.
Household Tools That Replace a Nail Art Kit
Easy nail art for beginners does not need a kit. These swaps work fine.
- Toothpick: small dots, tiny flowers, fine details.
- Bobby pin: big round dots.
- Cello tape: stripes, splits and chevrons.
- Kitchen or makeup sponge: gradients and glitter fades.
- Old eyeliner brush: thin lines once you want more control.
Cut tape into thin strips with scissors and store it on a plate so the edges stay clean. Once you are ready, a cheap dotting tool and a thin striper brush make the next step easier. See our nail art guide for the full list.
How to Make Home Nail Art Last
Regular polish done at home stays nice for about a week. Kitchen work and washing clothes rub away the tips before anything else, so repaint top coat every two or three days and wear gloves when you can. Short nails chip less than long ones. If your nails peel or hurt, take a break from polish and see a dermatologist.
Nail art questions
What are easy nail art designs for beginners?
Dots made with a toothpick, two colour splits with tape and a sponge ombre are the easiest. They need no steady hand. Start on short nails because there is less space to fill.
How can I do nail art at home without tools?
Dots come from a toothpick or bobby pin, stripes from cello tape and fades from a bit of kitchen sponge. Pour polish onto foil so it does not dry in the bottle neck.
Which easy nail polish designs take five minutes?
A single brushstroke swoosh, glitter on half the nail, or one dot on bare nails each take about five to ten minutes. Let the base dry before you add the design.
What is a good nail paint design at home for short nails?
Small dots, a chevron tip or one dot near the cuticle suit short nails. Light colours help them appear longer. Our short nails page has more.
Why does my nail art smudge?
Usually the colour is not dry before you add the design, or the coats are too thick. Use thin coats, wait a few minutes between layers and keep the top coat brush light.
Can I do easy nail art with gel polish at home?
Yes, but gel needs a lamp to cure each layer and careful removal. Most beginners find regular polish easier. Read our guide on removing gel safely.